Tutorials
Video Transcoding
Introduction
Video transcoding is the process of converting a video file from one digital format (or codec) to another. This conversion is often necessary to make the video compatible with various devices, platforms, and internet connection speeds.
Let's use YouTube as example. When users upload videos to YouTube, they may use different video formats, resolutions, and codecs. To ensure a seamless viewing experience for viewers on various devices, YouTube employs video transcoding.
Video transcoding is a complex and resource-intensive task, and several challenging aspects make it a technically demanding process. Some things to consider:
Codec Compatibility: Different devices and platforms support various video codecs, which can be incompatible with each other.
Balancing video quality with file size is crucial. Transcoding may involve reducing the video's bitrate (data) to make it suitable for streaming over slow internet connections.
Resolution Scaling: Converting videos to different resolutions (e.g., from 4K to 1080p) involves scaling and resizing. Maintaining the video's aspect ratio while avoiding distortion and artifacts can be tricky.
Resource Hungry: Video transcoding demands significant CPU and GPU resources, making it resource-intensive, especially for large-scale platforms like YouTube. The ability to scale is essential in these cases.
And these barely scratch the surface. Companies like Netflix has some of their best minds working on this particular problem to provide their users with the best possible viewing experience.
In this turotial, we won't get into all the nitty gritty details but instead focus on one aspect which I think is kinda interesting: distributing the video transcoding process across multiple machines in order to speed up the time it takes to process the video.
My Setup
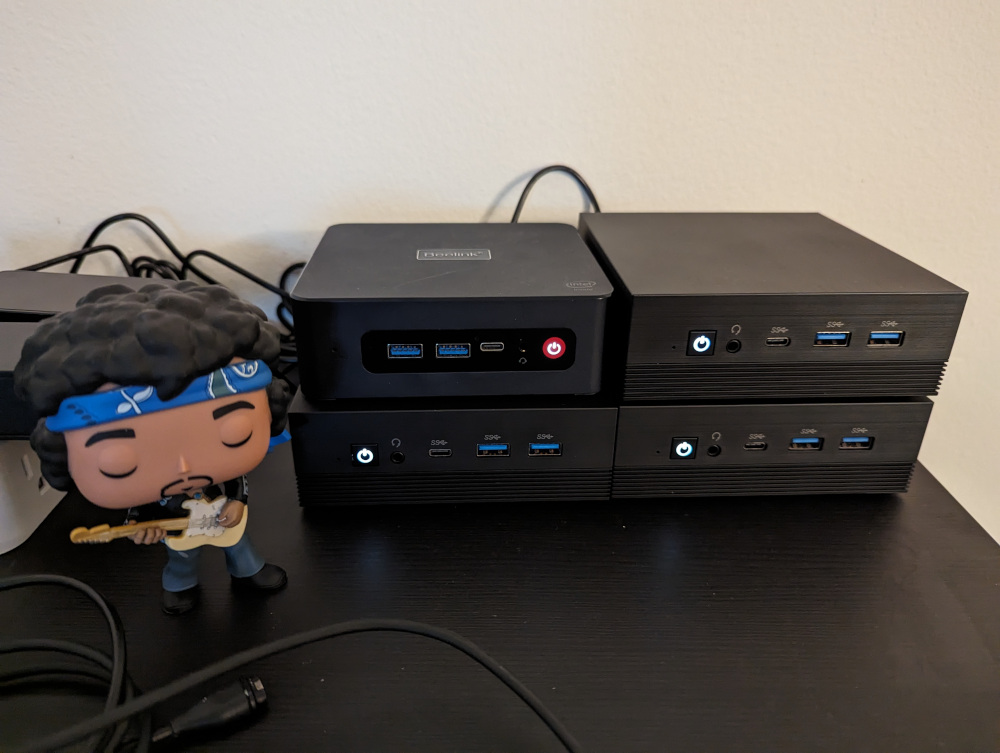
Hardware-wise we are going to use these 4 cheap "mini-pc" you see above with the following specs:
- 1 x Ubuntu Linux Mini PC 4-Cores N5105, 16GB DDR4
- 3 x Ubuntu Linux Mini PC AMD A9 9400 8GB RAM
Software-wise we are going to use:
- Tork
- Minio which is a self-hosted S3-like service to store our intermediate outputs and final transcoded video.
- Docker for the Tork Web UI as well as for Tork itself.
- FFMPEG for video transcoding.
The Workflow
- Read the video's runtime from the source file.
- Logically split the video to 30 second chunks.
- Generate a transcoding task for each of the chunks.
- Process the chunks in parallel, uploading each completed chunk to Minio.
- Once all chunks finished processing "stitch" them together into the final video.
- Upload the final video to Minio.
You can find the actual workflow definition here in case you're interested.
For the source video, I had a surpisingly hard time finding quality (HD and above) long-form (over 60 minutes) open-source content for the purpose of this tutorial. So I ended up creating a "master" video file by taking the open-source film Tears of Steel and duplicating it several times to create a ~70 minute long. This is the worklfow I used to create it.
Round One: Single Mini PC
To get a baseline time-wise let's run the job on a single machine - the slightly beefier 16GB machine.
- Download the Linux Tork binary. E.g.:
wget https://github.com/runabol/tork/releases/download/v0.1.66/tork_0.1.66_linux_amd64.tgz -O tork.tgz
- Extract the binary to some directory. In my case it's
~/tork/.
tar xvzf tork.tgz
- Start Minio:
docker run -d \
  --name minio \
  -p 9000:9000 \
  -p 9001:9001 minio/minio \
  server /data \
  --console-address ":9001"
- Start the Tork Web UI
docker run \
  --name=tork-web \
  -d \
  -p 8100:8100 \
  --add-host=host.docker.internal:host-gateway \
  -e BACKEND_URL=http://host.docker.internal:8000 \
  runabol/tork-web
- Start Postgres
docker run -d \
  --name tork-postgres \
  -e POSTGRES_DB=tork \
  -e POSTGRES_PASSWORD=tork \
  -e POSTGRES_USER=tork \
  -e PGDATA=/var/lib/postgresql/data/pgdata \
  -v $(pwd)/data:/var/lib/postgresql/data \
  -p 6432:5432 \
  postgres:15
- Create a
config.tomlfile with the following contents next thetorkbinary
[coordinator]
address = "0.0.0.0:8000"

[datastore]
type = "postgres"

[datastore.postgres]
dsn = "host=localhost user=tork password=tork dbname=tork port=6432 sslmode=disable"
- Initialize the database
./tork migration
Which should result in something like:
10:06PM INF migration completed!
- Run Tork in
standalone(Coordinator+Worker) mode:
nohup ./tork run standalone > tork.log 2>&1 & echo $! > tork.pid
- Optional: tail the log
tail -f tork.log
- Submit the job using the UI(http://localhost:8100/jobs/create)
And... we're done. 91 minutes later.

Round Two: 4 Mini PCs
Next, let's distribute the processing load across all mini-pcs.
We'll use RabbitMQ as a broker between the Coordinator and Worker nodes.
- Start RabbitMQ on the
standalonenode
docker run -d \
  --name tork-rabbitmq \
  -p 5672:5672 \
  -p 15672:15672 \
  rabbitmq:3-management
- Add the following to the
standalonenode'sconfig.toml:
[broker]
type = "rabbitmq"

[broker.rabbitmq]
url = "amqp://guest:guest@localhost:5672/"
- Create a
config.tomlfile for each of the worker nodes:
[broker]
type = "rabbitmq"

[broker.rabbitmq]
url = "amqp://guest:guest@minipc-01:5672/"
- Start each of the workers:
nohup ./tork run worker > tork.log 2>&1 & echo $! > tork.pid

This took 44 minutes. Better, but still too slow for my taste. Let's see if we can do better.
Round Three: 10 instances on AWS
In staying with the theme of using cheap hardware let's use 10 t2.small (1 vCPU / 2GB RAM) instances on AWS.
The slighly revised workflow can be found here.
This took 25 minutes. Not suprisingly a good bit better than my local setup.

Round Four: 30 instances on AWS
This took 11 minutes.

Not quite the 3X speed improvement I was hoping for but if I only compare the transcoding step between the two job - which is the only part that is parallelized, we get much closer to 3X improvement:
30 instances:
vs.
10 instances:
Conclusion
I'll probably want to experiment with different machine configurations to achieve more optimal results, but I'm generally happy with this quick and dirty test.